
I don’t know about you guys, but when I get a day off from work, I do one of the three things:
A. Clean like crazy
B. Binge watch Netflix and movies
C. Attempt to do both and fail miserably
The other day, I went with A and along with cleaning various areas around the house, I decided to clean underneath my bathroom sink. Amongst some face wash and my hair dryer, I found something I had forgotten was under there.
My nail polish
Nowadays I only paint my nails for special occasions, but seeing that bag full of different colors was exciting. I noticed though that there were quite a few colors that I no longer used, but didn’t want to throw away. That caused me to look at some nail polish upcycle pins we had saved on KPWB’s Pinterest and one by http://centsationalgirl.com caught my eye.
Step 1: Gather your supplies
For this project, you’ll really only need these items:

- Canvas (I had some leftover from my last post, but if you don’t have any, you can get a pack at your local craft store. )
- Nail polish ( Choose whatever colors you want, but I would recommend using a maximum of five so it’s not too much on the canvas.)
Step 2. Drizzle your paint

Lay your canvas on some newspaper. Once you’ve done that, choose two colors from your choices. Let them drip onto the newspaper to make sure it’s not clumpy before drizzling it onto the canvas. Don’t be afraid to make some lines thicker or drip across the canvas. When your satisfied with your design, put it aside and let the canvas dry for 30 minutes.
Step 3. Add some more color

Once your first layer is completely dry, grab you other colors and repeat the previous step. After you’re satisfied with your final touches, let the canvas dry for an additional 30 minutes.
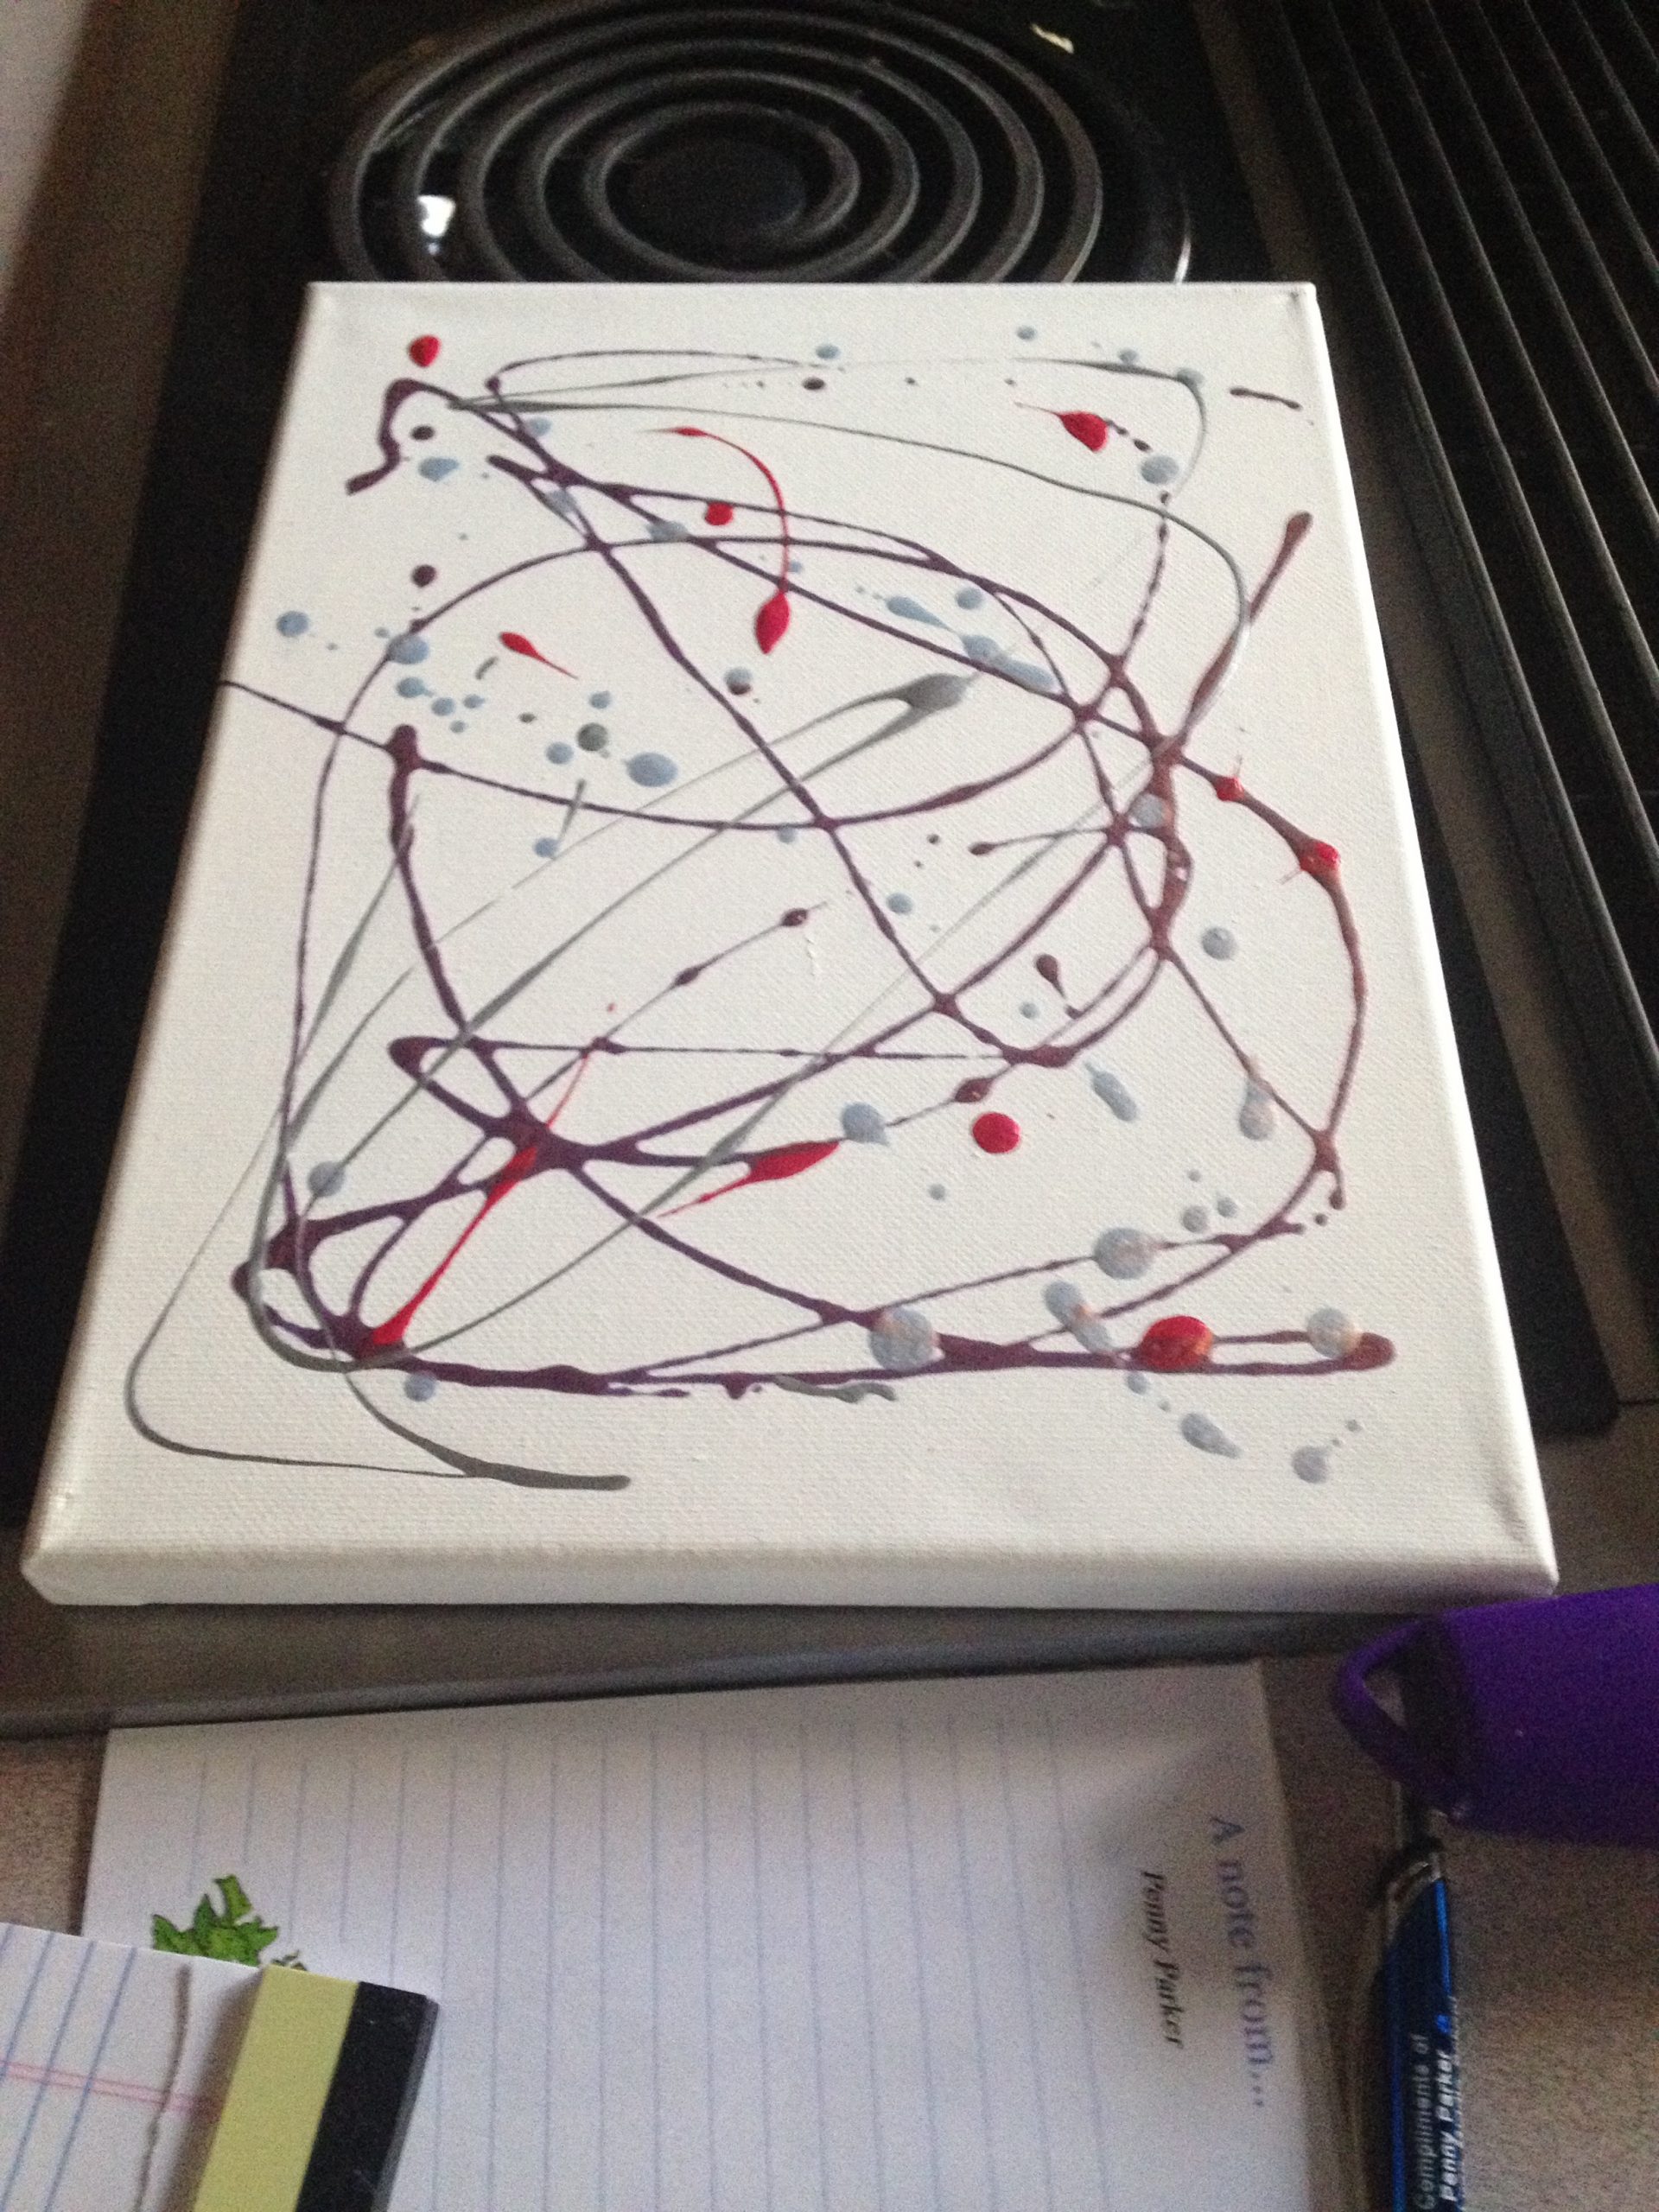
Step 4. Let it dry and admire your work
As you wait for your masterpiece to dry, figure out where you’ll place your amazing new art!
Final thoughts:
I truly had a lot of fun with this project. Not only is it an easy project, but it could help you finish off a few polishes. I will caution on a few things before doing this. First, be prepared to wait a while as each layer of nail polish dries and after that be prepared for the smell. Yes, I said smell. If you do your nails on a regular basis, you’ll know how nail polish can smell for a while after it’s been applied. I would strongly recommend that you move the painting to a section of the house( garage maybe?) so that the smell is not as pungent. Even after that though, I was extremely pleased with this project and would recommend it to anyone who wants art without paying for the price. Want to see more? Check out KPWB’s Pinterest page for more fun upcycle projects! And be sure to check in with us every Friday for another fun project.
http://centsationalgirl.com/2013/07/nailpolish-abstract-art/
https://www.pinterest.com/KeepPWBeautiful/


